


Manage Guest
Manage Guest in WedVista
In the Invitation Section, you can send invitations using two methods:
- Adding People for Invitation One by One (Manual Entry)
- Import Through Excel
Below are the steps for each method.
Adding People for Invitation One by One (Manual Entry)
To add individual guests manually:
-
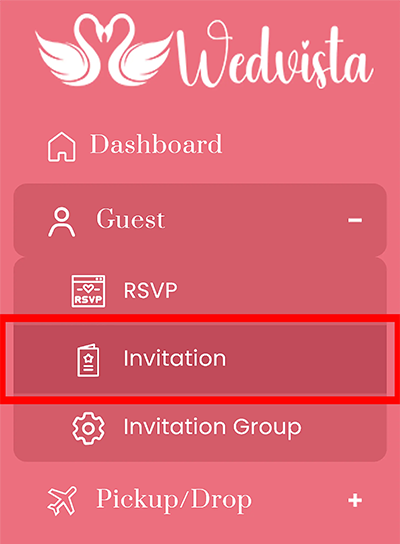
Navigate to Invitation Section: Go to the Invitation Section in the dashboard.
-
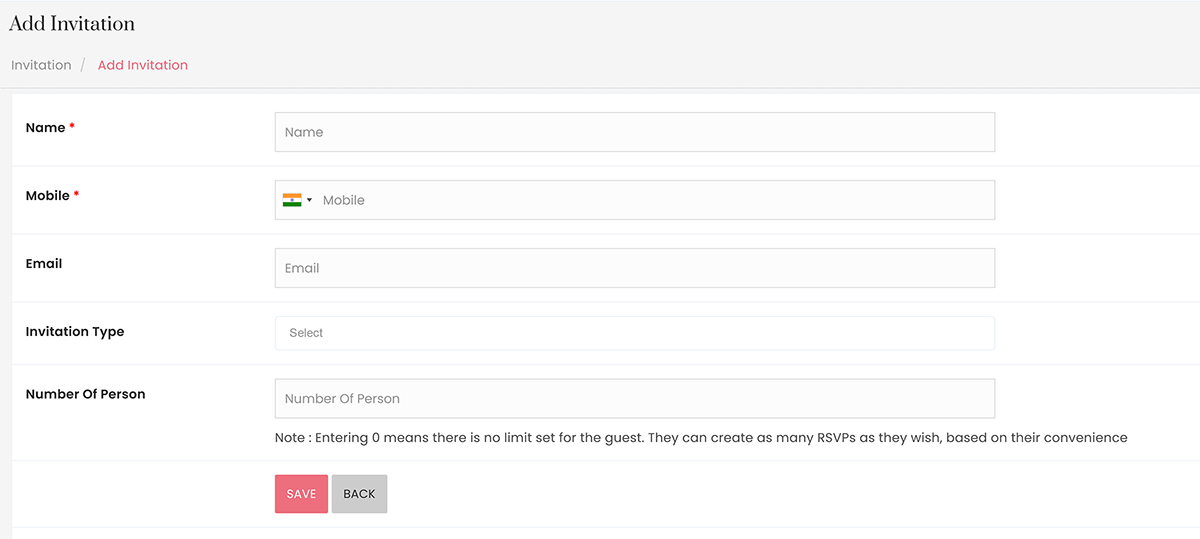
Add Invitation: Click on the Add Invitation button in the top-right corner.

-
Fill in Guest Details: Enter the following details for each guest to whom you wish to send an invitation.
Field Name |
Description |
Example |
|---|---|---|
| Name* |
Enter the full name of the guest. |
Bhavesh Bhatt |
| Mobile* |
Provide the guest's contact number. |
+91 1234567890 |
|
Enter the guest’s email address to send a digital invitation (optional). |
BB@example.com |
|
| Invitation Type |
Select the type of invitation appropriate for the guest’s event. |
Wedding Ceremony |
| Number Of Person |
Specify the maximum number of RSVPs allowed for the guest. Entering 0 means no limit is set. |
3 |
After filling in these details, click Save to add the guest invitation.
After adding an invitation manually, the details will be visible in the List View. Here's how you can manage the invitations further:
Viewing and Managing Invitations
-
List View: Once you click Save, the guest's invitation details will appear in the list view.
-
Action Column: In the Action Column, you will find options to manage each invitation:
Icon/Option |
Description |
|---|---|
| Edit |
Click on the Edit icon to modify the details of the selected invitation. |
| View |
Click on the View icon to preview the invitation details for the specific guest. |
| Send Invitation |
Click on the Send Invitation icon to dispatch the invitation to that person. |
These options allow you to efficiently manage the invitations, ensuring each guest receives the necessary details for the event.
Importing Guests Using Excel: Step-by-Step Guide
Step 1: Navigate to the Invitation Section
From the main navigation, click on "Invitation."
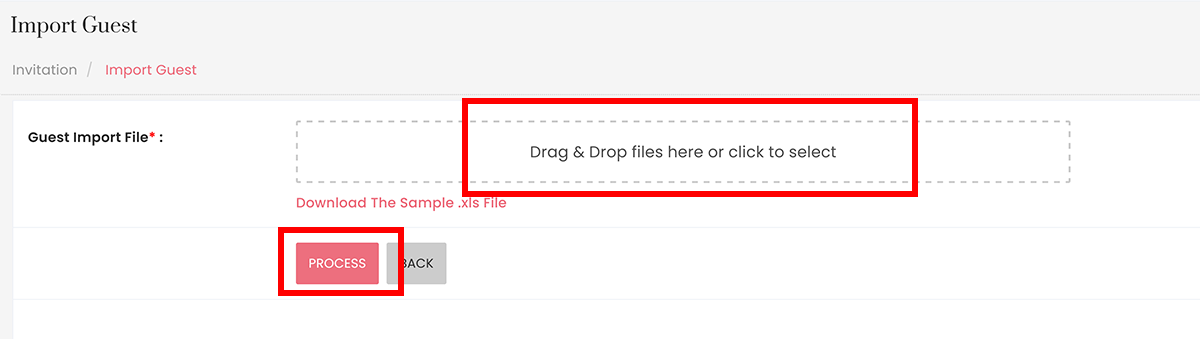
Step 2: Import Guests Using Excel
-
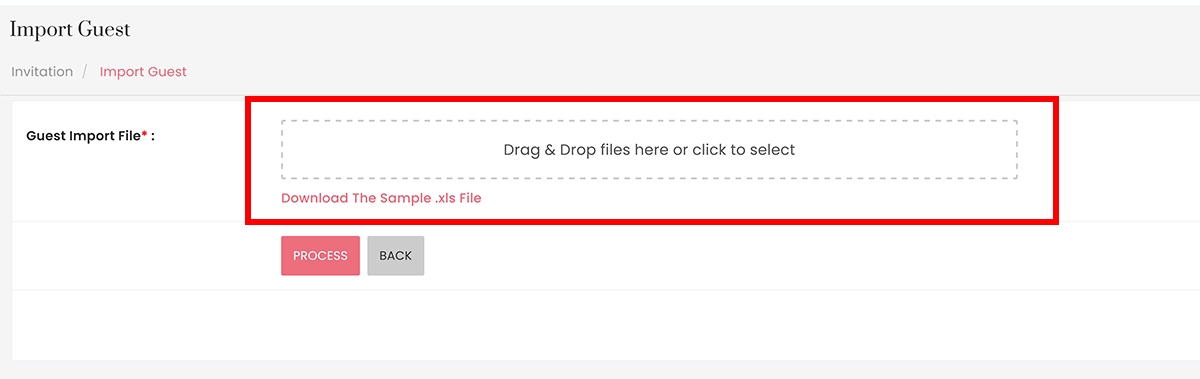
Click on the "Import Guest" button.

-
A new page will appear. Download the sample Excel file provided on this page.
Step 3: Fill Out the Sample File
-
Open the downloaded sample file. It contains the following columns:

Column Name
Description
Name Full name of the guest.
Mobile Contact number.
Email Guest’s email address.
No_of_person Number of attendees per invitation.
Invitation_Group Group name(s) the guest belongs to.
Note:You can assign multiple groups to a single guest by entering the respective group names.
Step 4: Upload and Process the Excel File
-
After filling in the data, save the file.
-
Upload the Excel file by returning to the "Import Guest" page and selecting your saved file.
-
Click on "Process" to begin data verification.
Step 5: Review and Verify Data
-
On the verification page, carefully review the guest data.
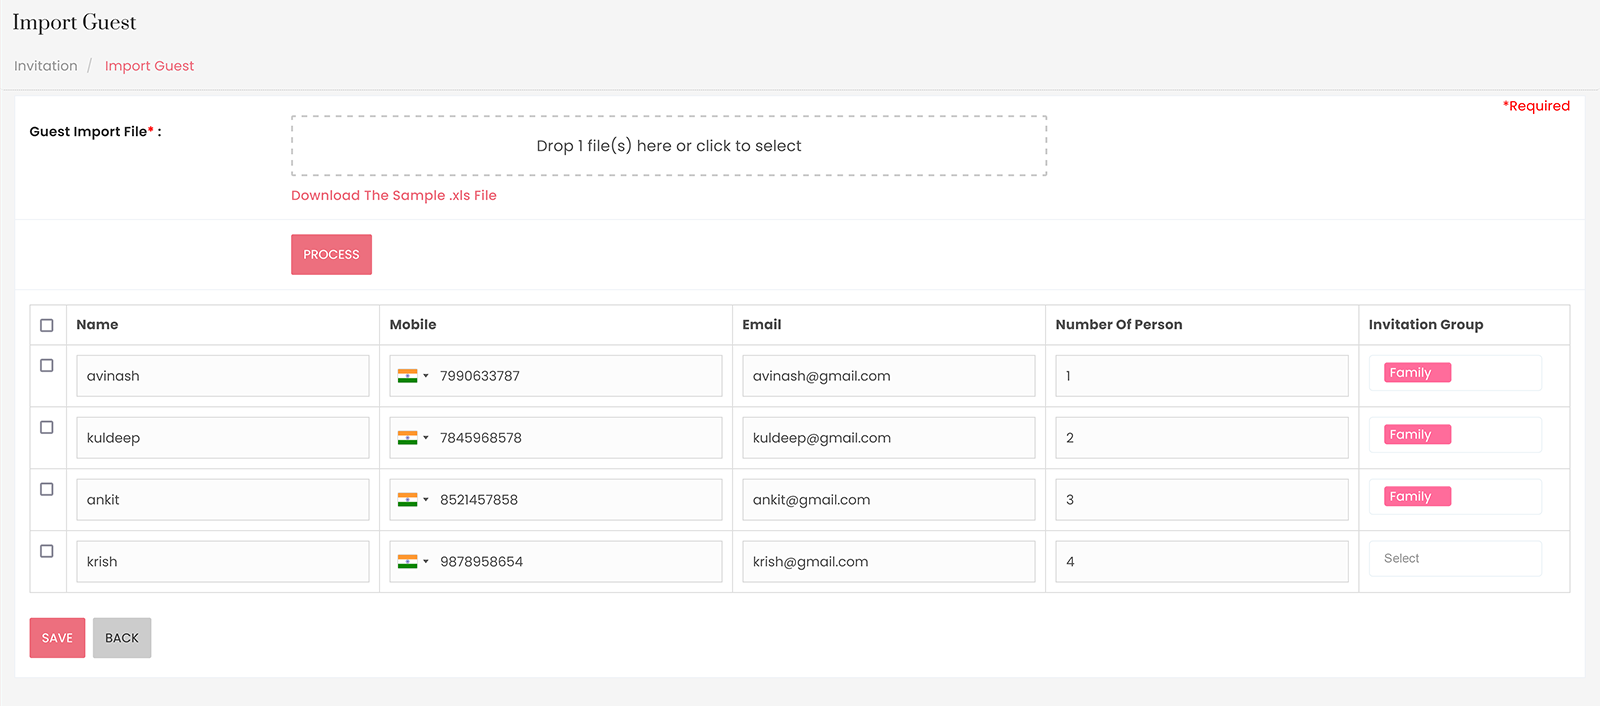
-
If any details need to be corrected or updated, make the changes directly on this page.
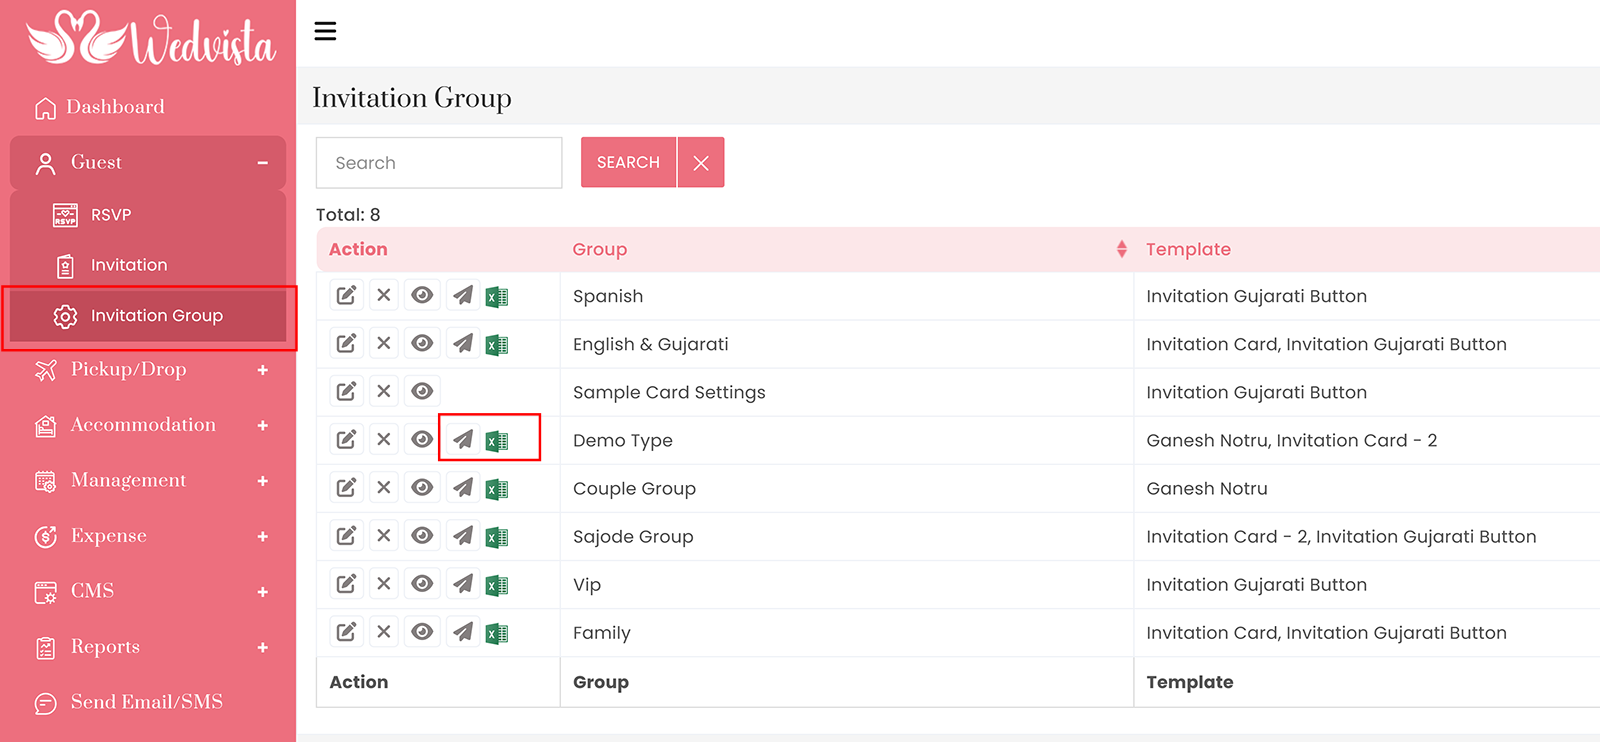
Step 6: Send Invitations
-
Invitation Sending through Website:
-
Once verified, the system will automatically update the Invitation Group section.
-
In the Action column, you will see two options:
-
Excel Button: Download the group data.
-
Send Button: Send invitations to all guests in the group with a single click.
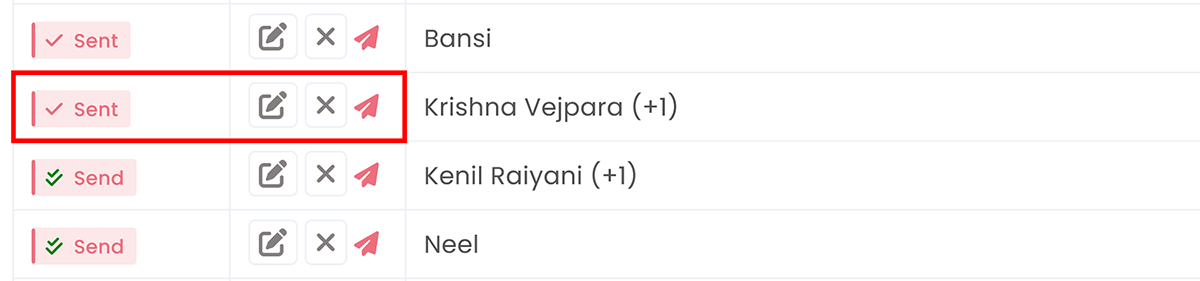
Invitation Status Indicators
-
Single Tick (
 ): The invitation has been sent to the guest.
 -
Double Tick (
): The guest has acknowledged the invitation.
-
-
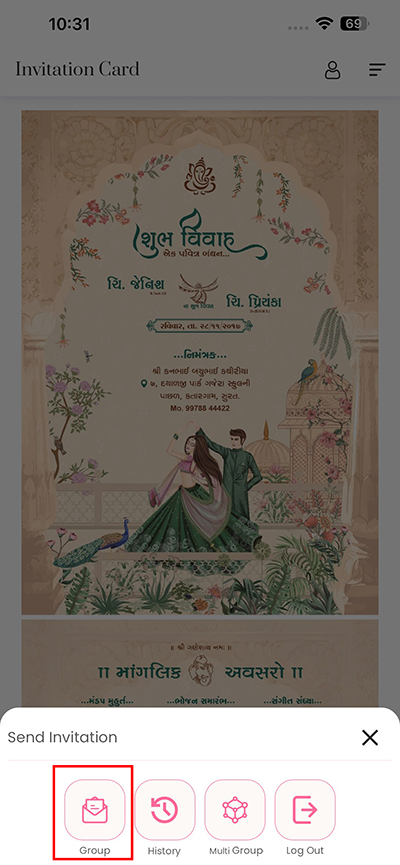
Invitation Sending through Phone:
Follow these steps to create and send messages to a new group through the admin account using mobile app:
-
Login:
-
Log in using your admin credentials.
-
-
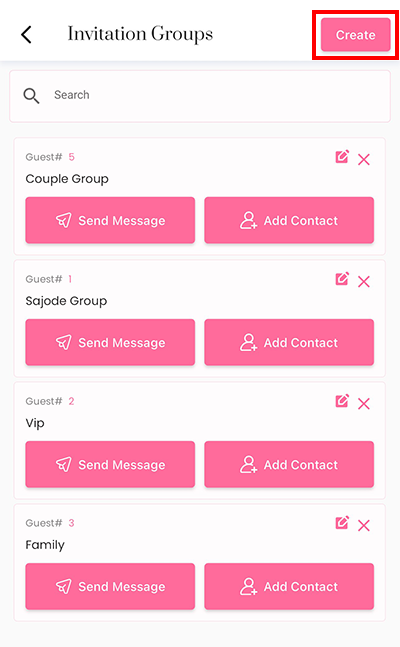
Navigate to Groups:
-
Click on the Group section from the main menu.
-
-
Create a New Group:
-
Click on the Create button to start a new group.
-
-
Enter Group Details:
-
In the Group Name field, enter the desired name for your group.
-
Click on Next to proceed.
-
-
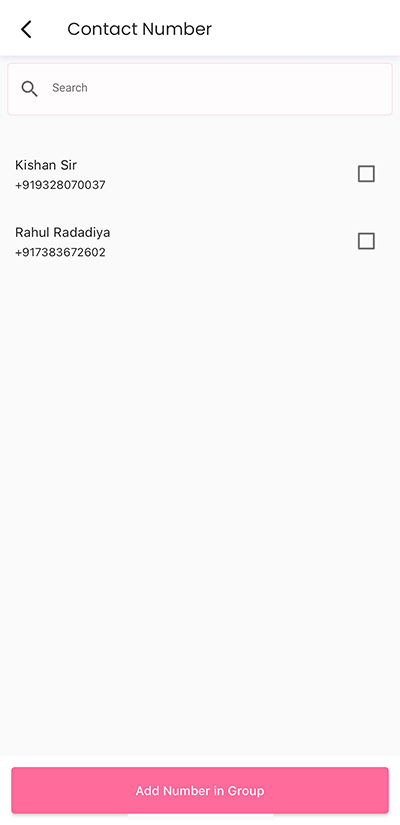
Select Contacts:
-
Choose the contact numbers of the people you want to include in this group.
-
Ensure all selected contacts are listed correctly.
-
-
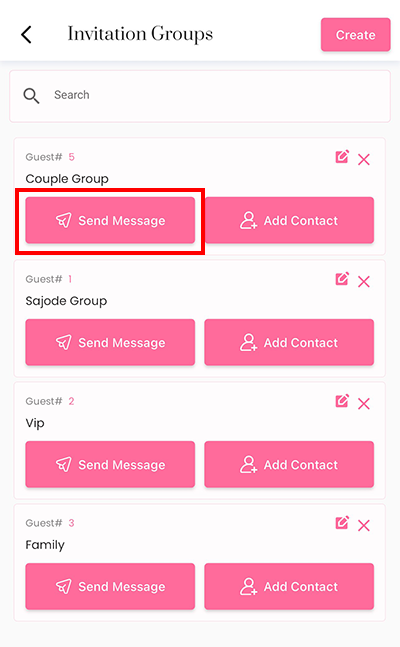
Send Message:
-
Click on Send Message to proceed.
-
A message template will appear. Review or customize the template as needed.
-
Click on the Send button to deliver the message to the group.
-
-
Note:
Ensure all selected contacts are valid and that the template meets your communication needs before sending the message
